A place for sewing, writing, yoga, photography, and living abroad.

RSS

Sorbetto Top

I made a shirt!! It's pretty awesome.


It's based off of this pattern from Colette Patterns: 

I actually finished it over a month ago, but waited for a sunny day/my camera to be back from the shop to take pictures. (Camera is still not fixed, btw! Grrr, impotent Japanese sales clerks.)

This was my first time working from a pattern, and it was one of those download-and-print-at-home ones. You have to tape them together one A4 piece of paper at a time, and they are made to test your geometry skills because they never, ever line up correctly.


Speaking of geometry, I also DRAFTED THESE ADORBZ PUFF SLEEVES!!!! I used this tutorial and imbibed a lot of red wine during the process I will hereafter refer to as "math".

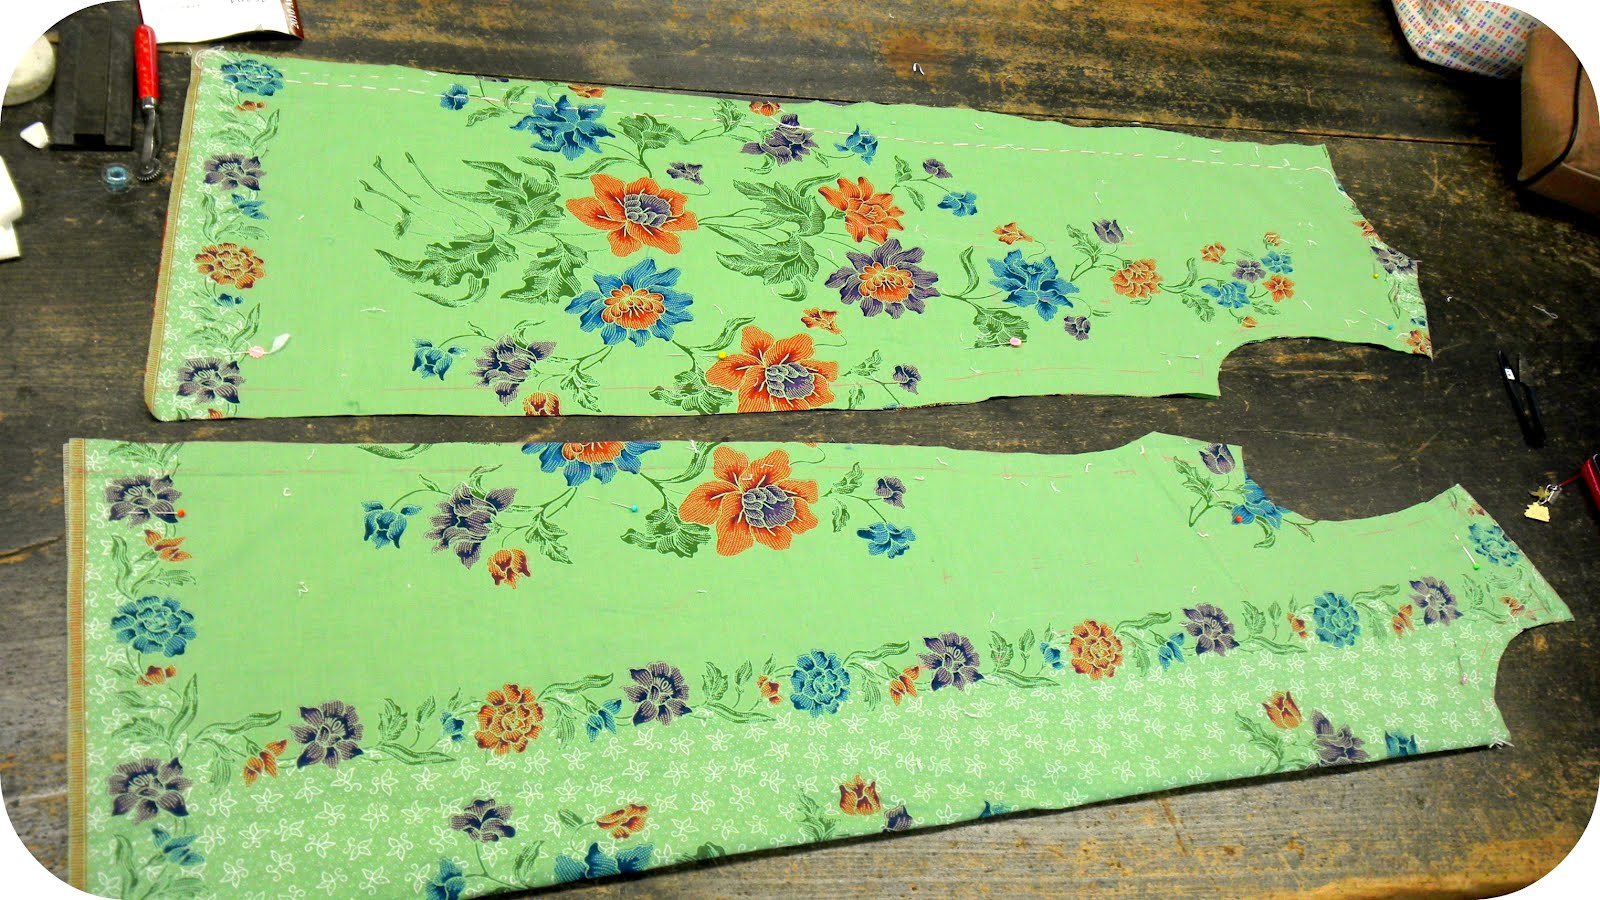
But way before all that "math" ever started, this is what I had.


At this point in the evening (the mullet hair point), I had already taken the shirt in the following amounts:
  • Under the arm: 0.5cm (front) and 1.5 cm (back)
  • Bust: 2 cm
  • Waist: 3.25cm
  • Belly-button area: 3cm
And I had added a total of 8 cm to the length. The photo on the left shows this disaster while sparing you my mullet hair.  There was a bunchy area in the small of the back, and the back neckline gaped. It was then that I learned what "swayback" was. (Thank you sewing, for teaching me abnormalities about my body that I didn't even know I had!) . This pattern was meant to be loose-fitting and for a straight (paper bag) fit. (That's why it was in the "beginner" section, I guess!)

The right picture is me trying to pin the back of the shirt while I'm wearing it. It wasn't pretty

So, I
  • took another 3 cm off the back of the waist (tapering to 1 cm at armhole)
  • moved the shoulder seam forward 2cm (front) 0.5cm (back)
  • and made a lovely (kindof awkward) horizontal dart in the back.


The sleeves' diameters were 22 cm after I added ruffles, and they fit perfectly. I used my machine's #11 stitch, possibly called "triple stitch blind" for the seams, but they're already fraying, so that was a bad choice. Too bad my manual is in Japanese!

I love this shirt so much, I made a skirt to go with it. (Because it matches nothing I own.) We'll save that excitement for another post! (Spoiler: there are ZIPPERS!)

Neither me nor my messy balcony had seen direct sunlight in a while. Mmmmmmm, Spring.


Sewing Translations and Japanese Fabric

Mind = blown.

Why has it taken me this much time and this many fabric-store panic attacks to do this simple google search? I am obviously not the first person in the world to need English translations of Japanese fabric names and sewing terms! Here are my finds from this evening. (Please excuse the heavy sewing jargon in this post-- I swear I only learned what most of these words mean, even in English, about 5 minutes ago...)

接着芯 : interfacing

ゴムテープ : elastic

ボタン : button

木綿 : cotton

麻 : linen

内: inner, inside

外: outer, outside

Elastic is pronounced "gomu-tape," in a lovely mangled form of Japanese-English... gomu meaning rubber or "gum" like consistency. Erasers are called "keishi-gomu." Condoms, while never mentioned in polite conversation, are sometimes called "gomu," or "rubbers" among friends.

I literally bought iron-on interfacing, thinking it was a lightweight lining fabric, until I got home and noticed the little glue nodules on the wrong side.
Can you see the glue? Source here.

My late-night internet search did not, however, answer all of my fabric questions.

エイティスクエア -- this doesn't make any sense. Eighties care? Eighties core? Eighty square? It's a 100% cotton fabric, with a moderately soft "hand" and slight stretch. I really liked this fabric, and it's only somewhat extortionate at 819 yen/meter, so I'm considering making a dress out of it... unless it's actually quilting cloth or something.

スペックワッシヤー  -- um... specuwashya? this one looks like linen. I'm wondering if the "shya" isn't a perversion of "challis" (pronounced shall-ee), a lightweight wool similar to crepe. I thought it looked like linen, but what do I know.

80綿ローン -- this one says "80 cotton lawn," which kinda makes sense, except for the 80 part.

ネオクリーズ -- had a wrinkly, rough hand, but not slinky and crepe-like.

... and this was just one aisle at the fabric store! Some things may always be a mystery. I'll post pictures next time if they'll let me whip out my camera in the fabric store. (Is that bad form? I dunno...)

Wax On, Wax Off

I'm am essentially the Karate Kid of hobbyist sewing.

I've been attending a Monday morning class near my house in Morioka. It's from 10-12, and only 1000 yen each session. It's more of a sewing circle, since we bring our own projects and the mistress of the house helps as needed. (Actually, she does half of the work for us, including drafting patterns. The lady is a machine!)

This is my teacher/tutor/constant reminder that I am not that good at Japanese, Mrs. Otsuka.


She runs a tailor shop near Aiina, about 10 minute's walk from my house. Her father was a tailor before her, and her son studies plant biology (?) at a Tokyo university. She keeps all her tools VERY sharp, and likes to have conversations about me like I'm not in the room.

We have a hilarious time. Today, she brought an electronic dictionary to class and left it sitting on the table while she mimed "lining," "fitted bodice," and "abacus" for two solid hours. She only reached for the dictionary when she wanted to say something about crocodiles. I really like her.

Here are some techniques I've learned from Mrs. Otsuka:
  • chalk outlining patterns - it's all in the wrist
  • tailor's tacks - baste stitches run between two pieces of fabric that are then cut, leaving little bits of thread to mark your pattern lines. I assume it's used for thick fabrics that wouldn't take the rolly-chalk thing well. Or for accuracy. I don't know; I don't speak Japanese.
  • Fitting - lots of sewing blogs bible-thump the zealous making of a "muslin," or practice garment made from cheap fabric, for every dress or top. That's just horse manure. Just the thought of wasting time and money on "disposable" fabric makes me angry, let alone the fact that no fabric is that cheap in Japan. Mrs. Otsuka cut right into my irreplacable 2 meters of Thai batik fabric without even a paper fitting. She's somehow designed the dress so that it folds in on itself (tucks?) in certain parts, allowing for taking it in our out later. I have no idea how she did it, and have resigned myself to basking in the glory of her wisdom for now.
  • Unpicking seams - I did this a lot on the kimono I'm turning into a skirt. She uses"stiletto" for hand-stitched seams, and a razor blade for machine-stitched ones.


  • Darts
  • Thimbles (though I still don't have my own)
  • Patterns tips - cut out notches for darts so you can chalk over it later. She uses the rolly tool on carbon paper only after chalking the first layer. (Why? I dunno.)
So I'm really lucky to have such a cool lady to show me the ropes, but I have one very Mr. Miyagi-ish problem. Often, I'll arrive at my lady's shop at 10, she'll sit me down with a long row of stitches to unpick, or chalk lines to baste, and then she bustles off to measure, chalk, cut, and sew a seemingly much more important part of the project. I've gotten very good at basting and unpicking, but that's not where the action is! I'm pretty sure she's conjuring magic or something awesome over there.

Also, she suffers from modest-old-Japanese-lady syndrome, and makes all of my skirts hit far too low below the knee. We had a broken conversation about what was "classy" the first time, and after that I just nodded and smiled. Can't win them all, I guess.